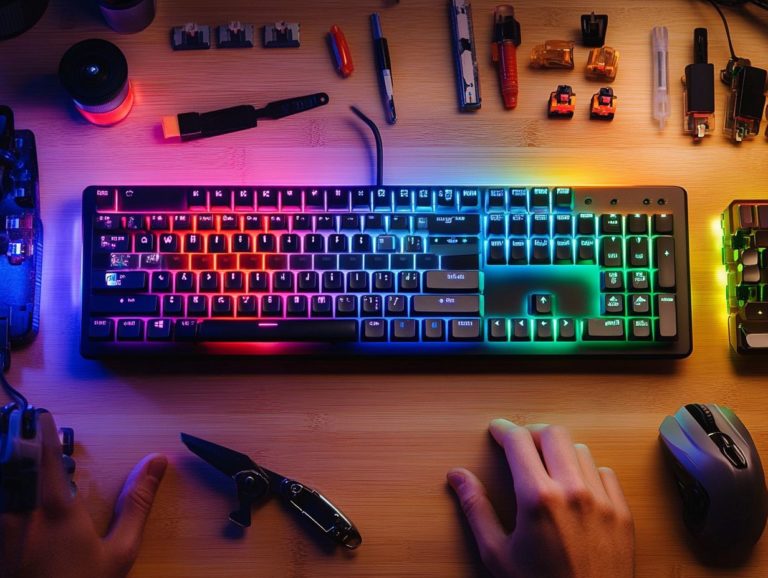
how to clean your gaming keyboard effectively
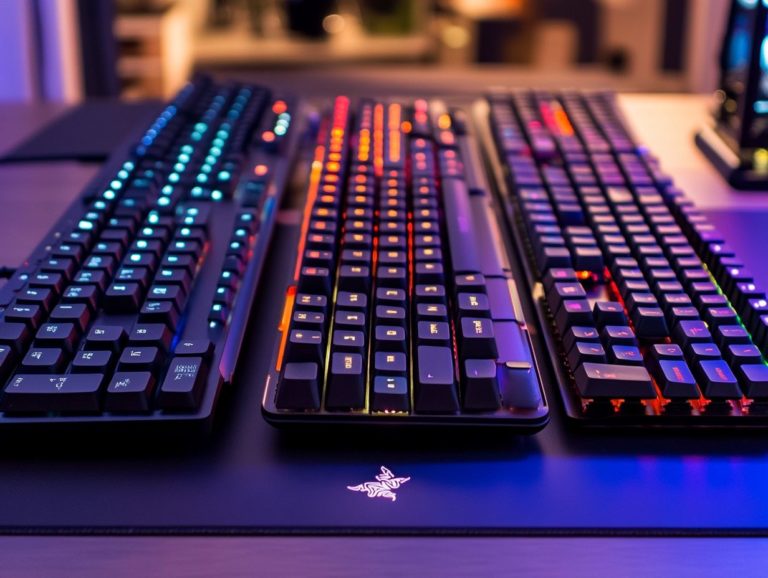
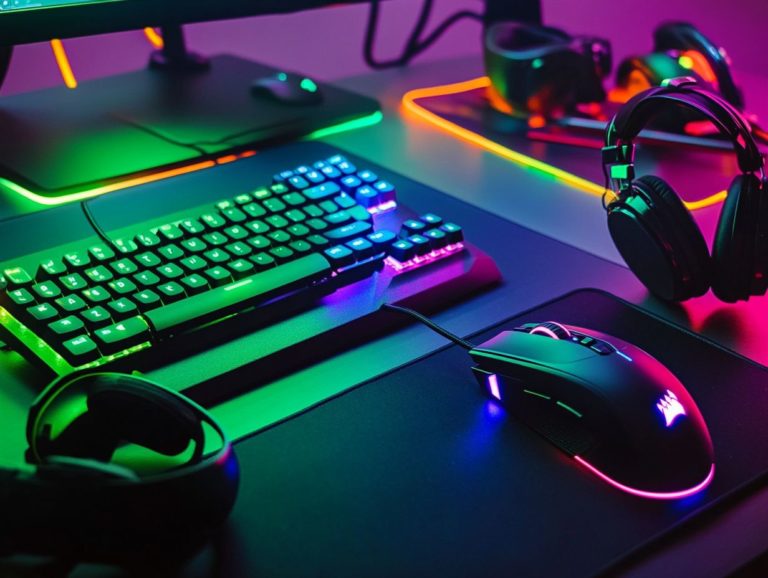
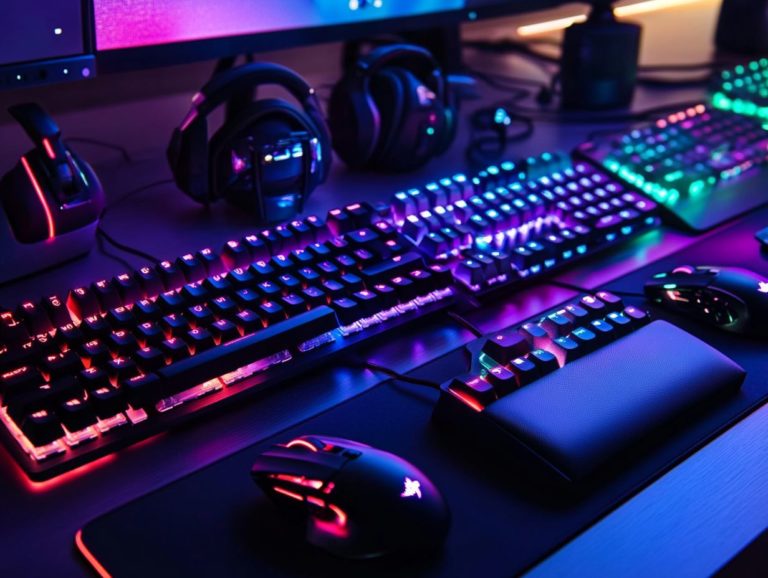
Gaming keyboards are often the epicenter of intense action. However, they can attract dust, grime, and crumbs over time.
A dirty keyboard can hinder performance and lead to health concerns. It’s important to keep your gaming keyboard in top shape for the ultimate gaming experience!
This involves having the right materials for an effective clean and following a step-by-step guide to restore it to its former glory.
Maintenance tips will help your keyboard look and perform its best. Dive in and elevate your gaming experience!
Contents
- Key Takeaways:
- Why Cleaning Your Gaming Keyboard is Important
- Materials Needed for Cleaning
- Step-by-Step Guide to Cleaning Your Gaming Keyboard
- Tips for Maintaining a Clean Gaming Keyboard
- Frequently Asked Questions
- How often should I clean my gaming keyboard?
- What supplies do I need to effectively clean my gaming keyboard?
- Can I use water to clean my gaming keyboard?
- How do I clean in between the keys of my gaming keyboard?
- Is it safe to use rubbing alcohol on my gaming keyboard?
- Can I remove the keys of my gaming keyboard to clean them?
Key Takeaways:
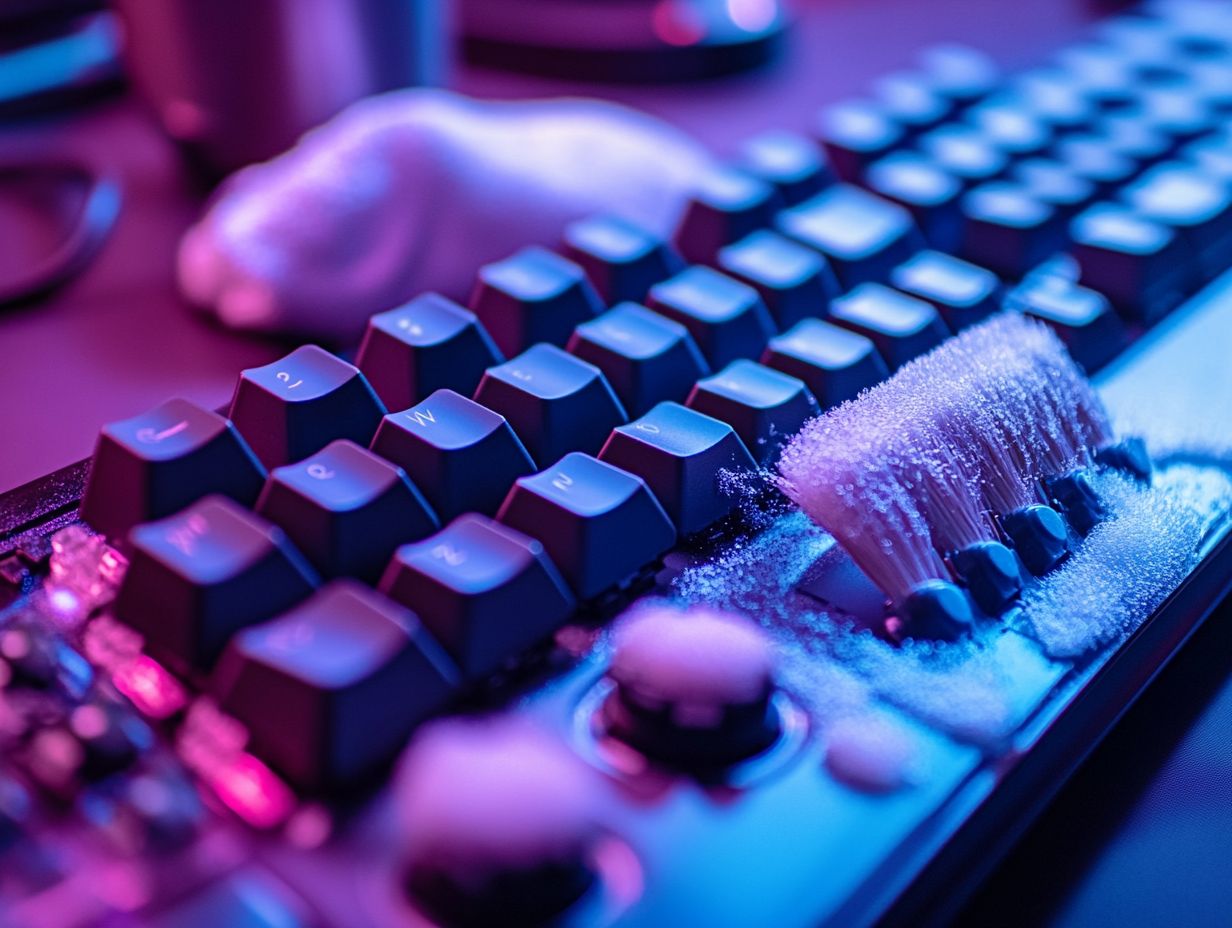
Regularly cleaning your gaming keyboard is essential for maintaining its performance and longevity. Neglecting it can lead to a buildup of dirt, debris, and even bacteria, affecting your gaming experience.
Gather the necessary materials such as compressed air, cleaning solution, and cotton swabs. Avoid harsh chemicals and always follow the manufacturer’s recommendations.
Follow a step-by-step guide for effective cleaning, including disassembling the keyboard, cleaning the keys and body, and properly drying and reassembling it. Additionally, check out how to clean your gaming mouse effectively to implement preventive measures and maintain a clean gaming setup with a regular cleaning schedule.
Why Cleaning Your Gaming Keyboard is Important
Cleaning your gaming keyboard is crucial for maintaining both hygiene and peak performance. To enhance your setup, learn how to set up your gaming keyboard for optimal play. A dirty keyboard can accumulate food particles, dust, and debris.
This not only detracts from its visual appeal but can also diminish its responsiveness and compromise your typing experience over time.
As a gamer, it’s vital to prioritize the cleanliness of your keyboard. The buildup of grime can adversely affect its durability, potentially shortening its lifespan.
Keeping your keyboard pristine ensures that you can focus on your game, not on frustrating lag or sticky keys.
Potential Consequences of a Dirty Keyboard
Neglecting to clean your gaming keyboard can result in sticky keys and accelerated wear. This ultimately impacts your gaming performance and typing experience.
As dirt and crumbs accumulate between the keys, you may notice a marked decline in responsiveness, making those precise movements in fast-paced games increasingly difficult.
This buildup disrupts gameplay and fosters an unhygienic environment, inviting bacteria and posing health risks over time. Dust and crumbs can become lodged beneath the keys, leading to permanent damage.
Engaging in regular maintenance elevates the aesthetics of your keyboard and ensures a seamless experience, preserving both hygiene and functionality.
Materials Needed for Cleaning
To achieve a thorough cleaning of your gaming keyboard, gather a few essential tools:
- A microfiber cloth for surface wipes.
- Cotton swabs for intricate details.
- A can of compressed air for debris in hard-to-reach spots.
- A reliable solution like isopropyl alcohol or warm soapy water for deeper cleaning.
With these tools at your disposal, your keyboard will be primed for peak performance.
Recommended Cleaning Products
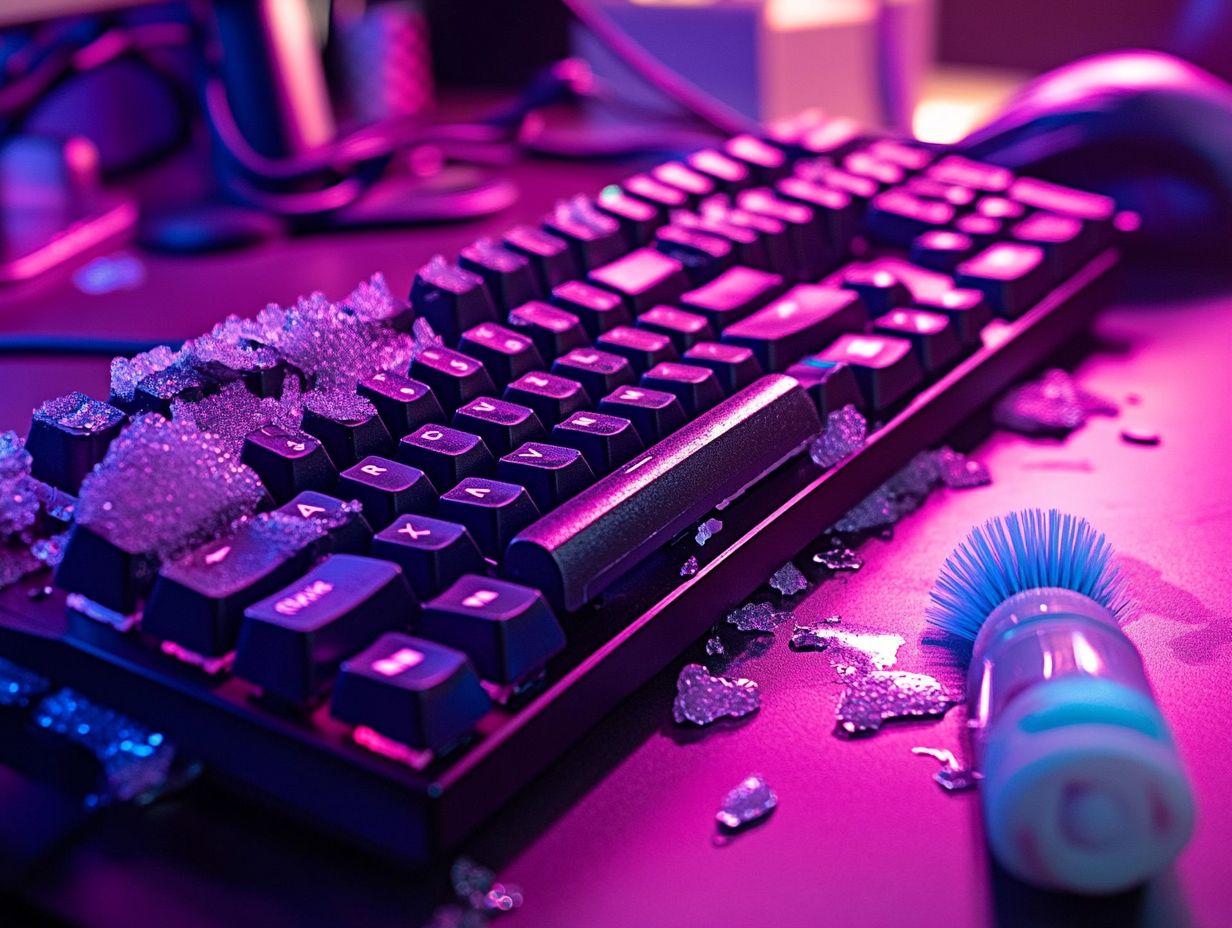
For optimal keyboard care, consider using cleaning solutions like isopropyl alcohol. It’s effective at eliminating bacteria and safe for most keyboard surfaces.
Besides isopropyl alcohol, several specialized products are designed specifically for keyboard hygiene, including:
- Compressed air dusters
- Microfiber cleaning cloths
Compressed air is fantastic for blasting away dust and dirt trapped between keys, enhancing both the appearance and performance of your keyboard. Microfiber cloths attract dust without scratching the surface, making them perfect for wiping down keys after disinfecting.
By incorporating these cleaning products into your regular maintenance routine, you’ll ensure that your keyboard looks pristine and functions effectively, minimizing the risk of malfunctions caused by grime buildup.
Step-by-Step Guide to Cleaning Your Gaming Keyboard
A meticulous approach to cleaning your gaming keyboard begins with a few essential steps.
- First, ensure that you power off and unplug the keyboard to safeguard against any potential damage.
- Next, delicately remove the keycaps using a keycap puller. This not only enables a thorough cleaning of the components beneath but also enhances your overall maintenance routine.
Preparation and Disassembly
To prepare for cleaning your gaming keyboard, begin by unplugging it. This step is crucial for your safety.
Next, use a keycap puller to gently remove the keycaps, granting you easier access to the keyboard assembly. This approach not only shields you from potential electrical shock but also allows you to clean thoroughly without risking any damage to the internal components.
After popping off the keycaps, take a moment to inspect the keyboard’s inner workings for any dust or debris that may have settled in. A blast of compressed air can be quite effective in blowing away dust and dirt.
Before you get into the nitty-gritty of cleaning, document the layout or snap some photos for accurate reassembly. This little bit of preparation ensures that each component can be seamlessly returned to its original spot, making the entire cleaning process smooth and efficient.
Cleaning the Keys and Keyboard Body
Cleaning your keys and keyboard body is a simple yet essential task. Use a toothbrush or a microfiber cloth to sweep away loose debris, while also applying a suitable cleaning solution to disinfect and sanitize the surfaces. This approach ensures that dust and crumbs are effectively removed from the crevices between the keys and sets the stage for deeper hygiene practices.
To improve your cleaning routine, consider adding compressed air to your toolkit. It s incredibly useful for blasting away stubborn particles that a cloth might overlook.
For a thorough wipe-down, mix isopropyl alcohol with water and spray it onto your microfiber cloth. This way, you can clean without the worry of moisture seeping into the circuitry.
By incorporating these methods into your regular maintenance routine, you can significantly extend the lifespan of your keyboard, resulting in a cleaner, more enjoyable typing experience.
Drying and Reassembly

After you ve thoroughly cleaned your gaming keyboard, make sure to let it dry fully this is crucial for keeping your keyboard safe!
This step is important; even a tiny bit of water can wreak havoc on the internal circuitry and lead to irreversible damage. Place your keyboard in a well-ventilated spot to help it dry quickly.
Once everything is dry, take your time to carefully reassemble the keyboard, ensuring each keycap is positioned correctly and secured snugly. Don t wait! Clean your keyboard every few weeks for top performance.
Regular maintenance not only boosts functionality but also extends the lifespan of your device, keeping it looking and feeling as good as new.
Tips for Maintaining a Clean Gaming Keyboard
- Set a regular cleaning schedule.
- Use a dust cover.
- Avoid snacks near your keyboard.
This proactive approach ensures your gaming experience remains uninterrupted and your keyboard stays spotless.
Preventive Measures and Cleaning Schedule
Creating a cleaning schedule and taking steps to prevent issues can greatly enhance the longevity of your keyboard. This ensures a consistently hygienic typing experience. Establishing a routine that aligns with your typing habits is essential.
If you re a daily user, consider a weekly cleaning. Occasional users might find a bi-weekly or monthly approach more suitable. By considering factors like your environment and how often you use the keyboard, you can tailor this schedule to fit your needs.
Regularly wiping down the keys and surfaces with disinfectant wipes can prevent the buildup of grime and bacteria. This contributes to a healthier workspace. Regular maintenance keeps your keyboard looking pristine and protects its internal components.
With this approach, you’ll enjoy a longer-lasting keyboard and a smoother typing experience!
Frequently Asked Questions
How often should I clean my gaming keyboard?
It is recommended to clean your gaming keyboard at least once a month to prevent the buildup of dirt and debris.
What supplies do I need to effectively clean my gaming keyboard?
You will need a can of compressed air, a soft cloth, rubbing alcohol, cotton swabs, and a small brush.
Can I use water to clean my gaming keyboard?
No, water can damage your keyboard and should not be used to clean it. Use rubbing alcohol instead.
How do I clean in between the keys of my gaming keyboard?
Use a can of compressed air to blow out any dirt or debris in between the keys. You can also use a small brush to gently loosen any stubborn particles.
Is it safe to use rubbing alcohol on my gaming keyboard?
Yes, rubbing alcohol is safe to use on your gaming keyboard. Just make sure to use a small amount and avoid getting it on any electronic components.
Can I remove the keys of my gaming keyboard to clean them?
Yes, most gaming keyboards have removable keys that can be cleaned individually. Just make sure to use a gentle touch when removing and reattaching them.

