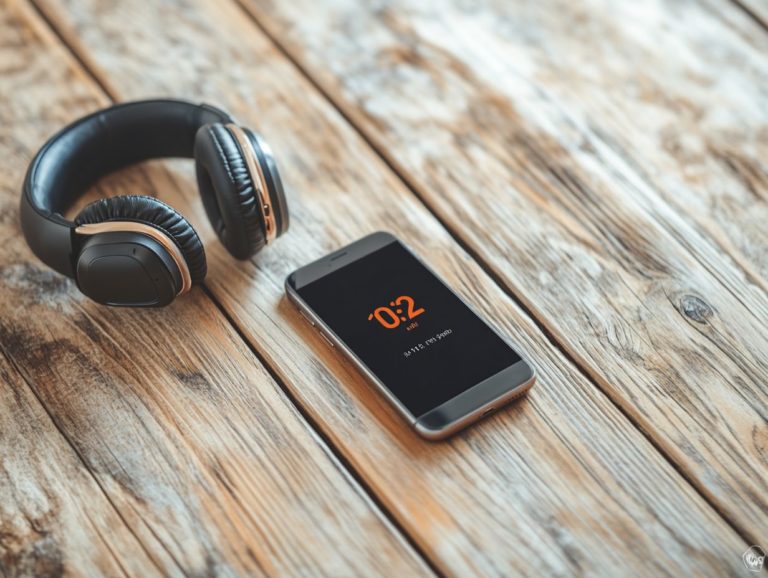
how to properly clean your gaming headset?
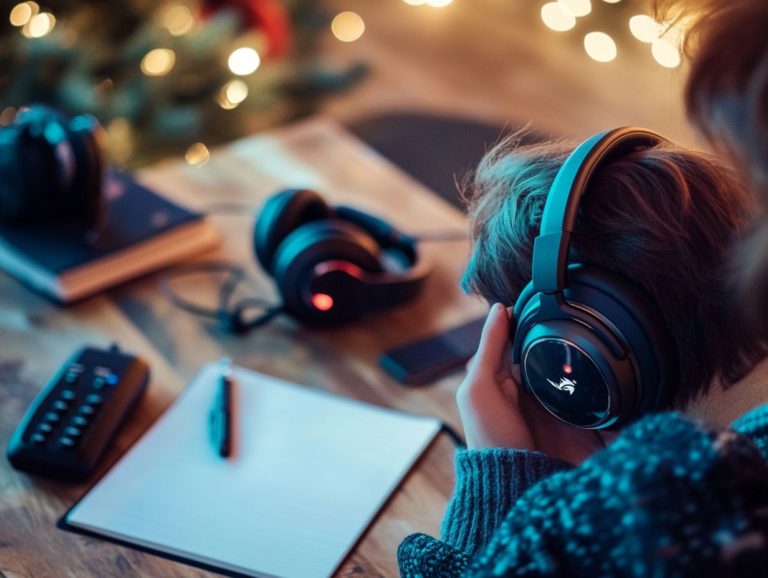
Taking care of your gaming headset is essential for peak performance and hygiene. Over time, dirt, sweat, and bacteria can build up, impacting sound quality and comfort.
Get ready to discover how easy it is to clean your headset! This guide highlights the importance of regular cleaning, the materials you’ll need, and a straightforward step-by-step process to get your headset in top shape.
You’ll also find valuable tips for maintaining its condition and insights into common mistakes that can lead to damage.
Contents
Key Takeaways:
Regular cleaning of your gaming headset is crucial for maintaining its performance and longevity. Use recommended cleaning products and follow proper steps to remove dirt and bacteria from your headset.
Don t overlook the importance of regular maintenance and preventative measures to avoid potential damage and ensure an optimal gaming experience.
Why Cleaning Your Gaming Headset is Important
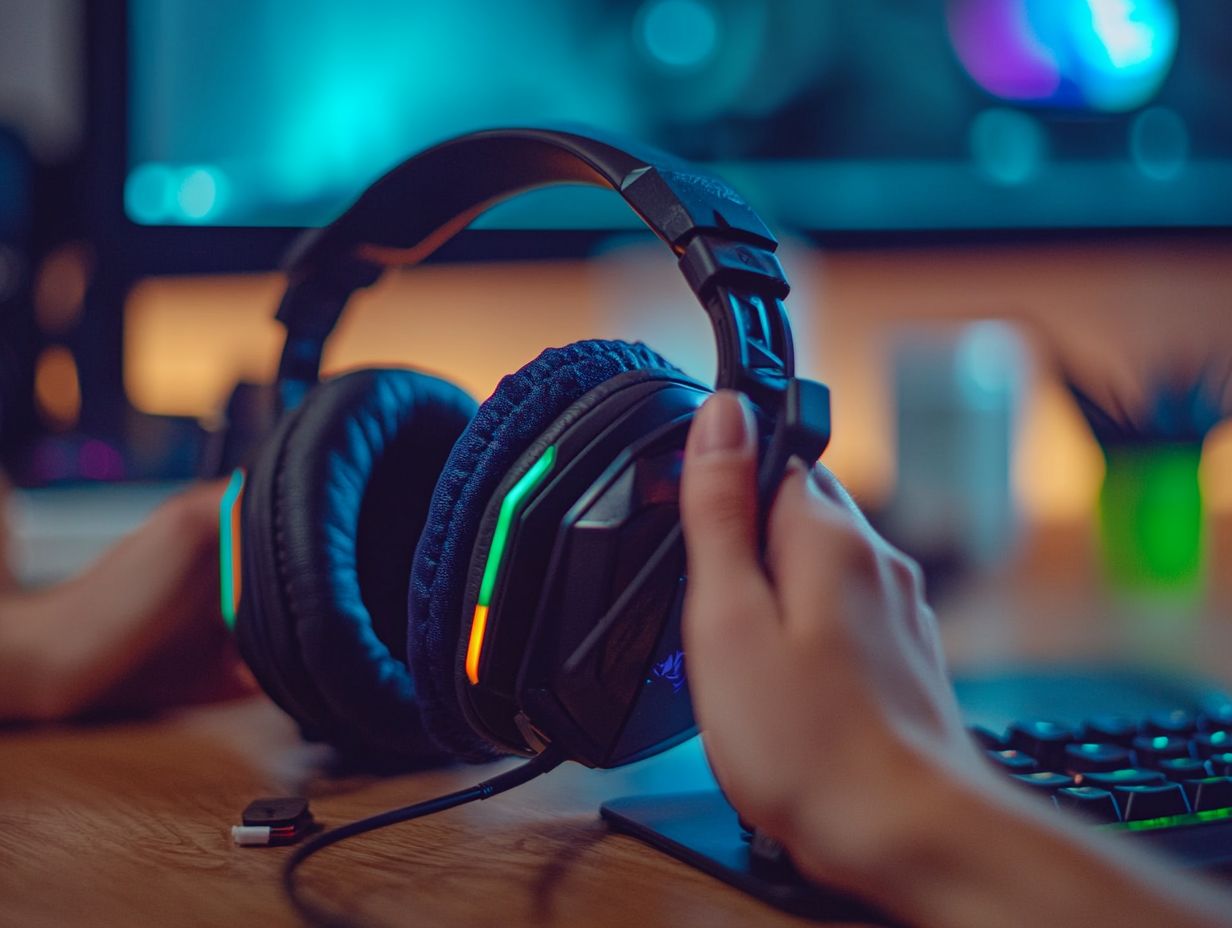
Cleaning your gaming headset is crucial not just for a comfortable fit, but also for ensuring your gaming experience stays hygienic and enjoyable. Regular maintenance helps eliminate bacteria, dirt, and moisture that build up over time, which can cause ear infections and unwanted odors.
By prioritizing proper care, you extend the lifespan of your headset and elevate your gaming sessions with crisper sound and better hygiene.
With the right cleaning techniques and materials, you can keep your headset looking and performing like new, enhancing your overall immersion in the game.
Benefits of Regular Cleaning
Regularly cleaning your gaming headset offers a wealth of benefits that enhance both comfort and hygiene during those immersive gaming sessions.
By maintaining cleanliness, you improve sound quality, allowing yourself to fully engage with the game’s audio. You also significantly reduce the risk of ear infections caused by bacteria buildup.
This focus on hygiene keeps your gaming experience enjoyable and distraction-free. A well-maintained headset increases comfort, as dirt and grime can lead to irritation during marathon gameplay sessions.
By prioritizing regular cleaning, you can enjoy clearer audio, a healthier gaming environment, and reduced discomfort, all contributing to an overall improved experience that boosts your concentration and enjoyment.
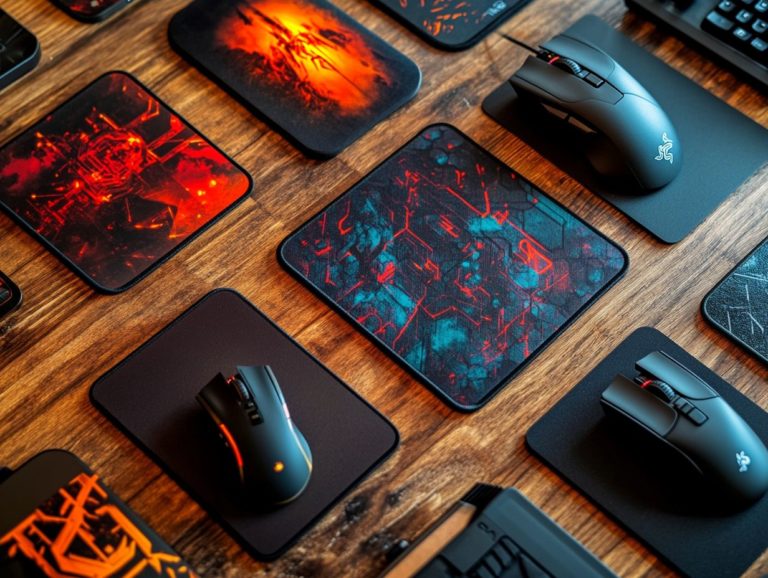
Materials Needed for Cleaning
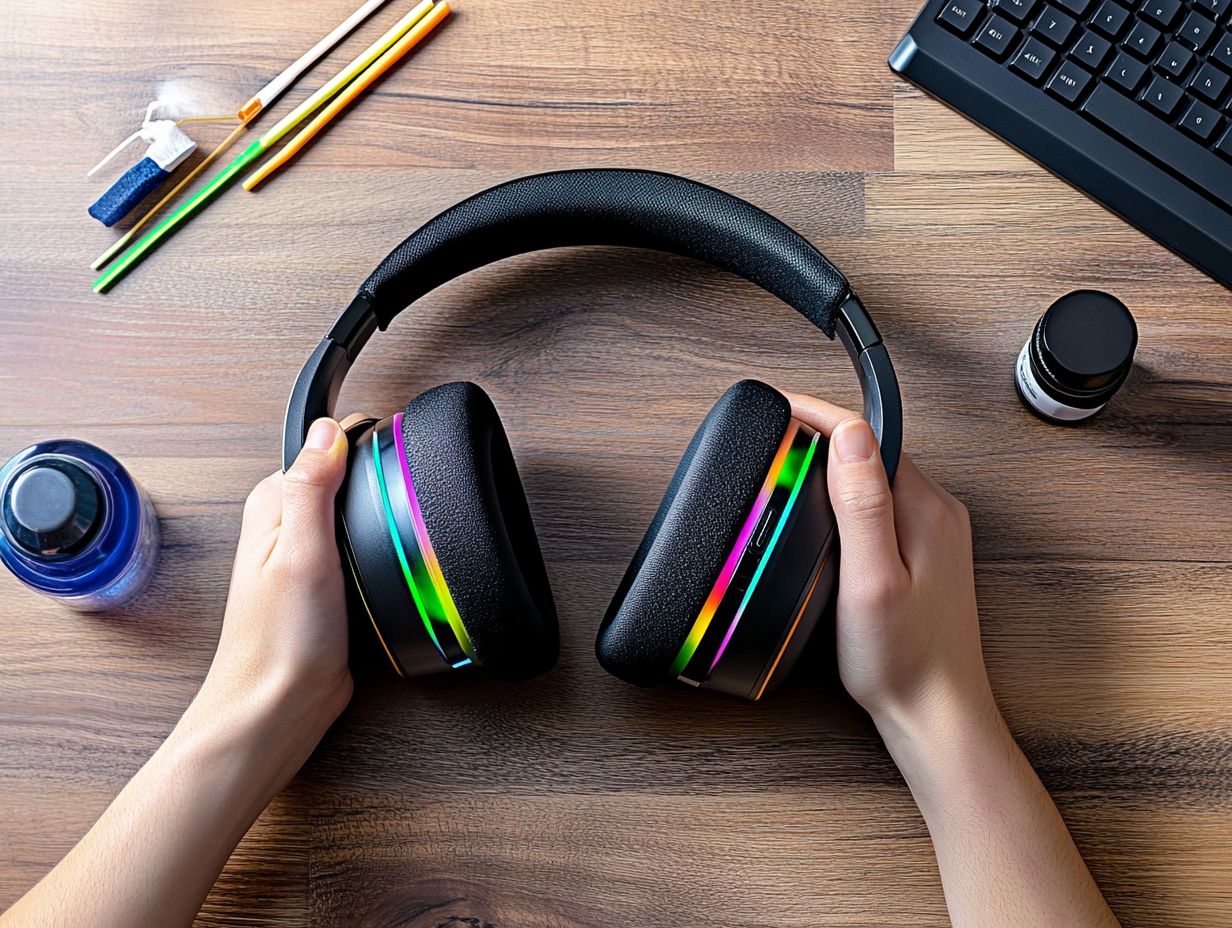
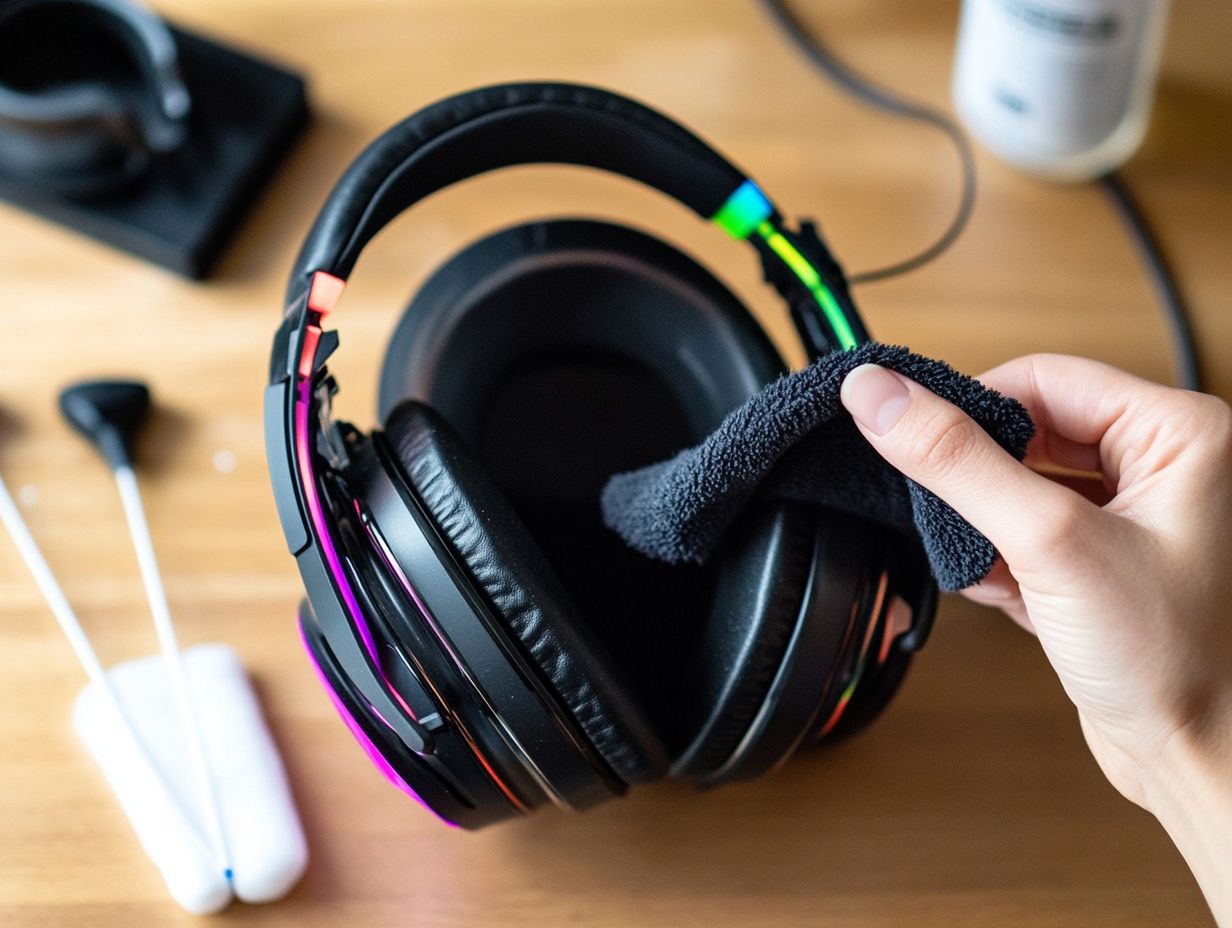
To maintain your gaming headset s pristine condition and extend its lifespan, gather a selection of specialized cleaning materials. Start with a microfiber cloth for gentle wiping to avoid scratches.
Alcohol wipes will be your go-to for disinfecting, while a cleaning brush can effortlessly tackle hard-to-reach corners. For meticulous details, Q-tips are perfect for precision cleaning of small components.
Don t overlook a peroxide cleansing solution; it s invaluable for banishing stubborn dirt and bacteria. Equipped with these tools, your cleaning process will be efficient and thorough, keeping your headset in top-notch shape.
Recommended Cleaning Products
Choosing the right cleaning products is essential for achieving optimal results without risking damage to your gaming headset.
Consider using alcohol wipes; they effectively eliminate dirt and bacteria while leaving no residue behind. Pair these wipes with a soft microfiber cloth to buff away smudges and fingerprints, ensuring your headset looks as good as new.
If your headset features leather or faux leather, a quality leather conditioner can work wonders, revitalizing the material and keeping it supple to prevent cracking.
This combination of products not only extends the life of your headset but also enhances overall performance, elevating your gaming experience to new heights.
Step-by-Step Guide to Cleaning Your Gaming Headset
Cleaning your gaming headset can be a seamless experience when you follow a systematic, step-by-step guide. This approach ensures every component receives the attention it deserves while upholding the highest hygiene standards.
Removing Dirt and Grime
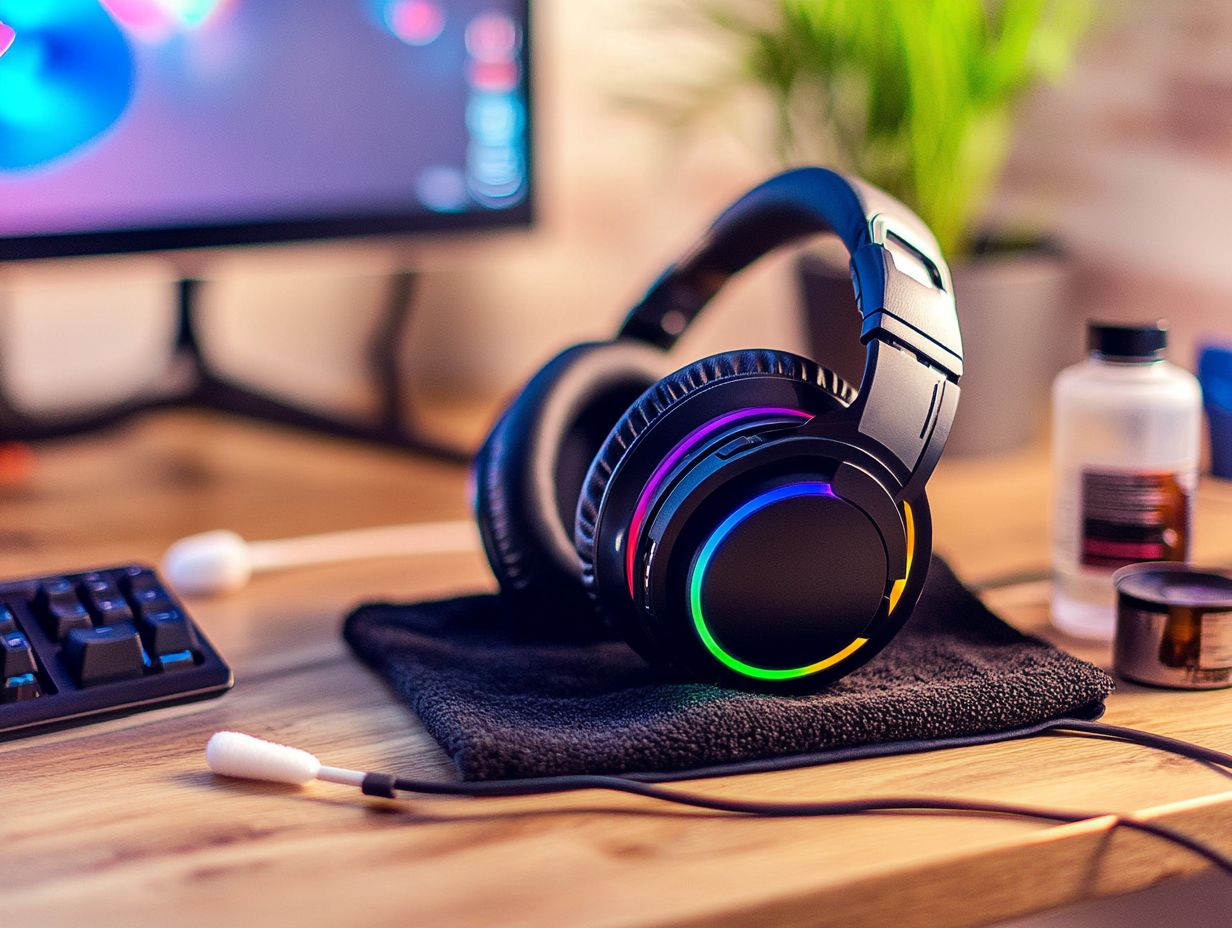
The first step in cleaning your gaming headset is to eliminate the dirt and grime that accumulate on the surface, especially around the headphone pads and speaker grills.
Keeping your headset clean is key to a great gaming experience! Sweat and moisture that build up can lead to unpleasant odors and even affect sound quality.
- Start by disassembling any removable parts, like the ear cups. Follow the manufacturer s instructions to avoid damaging any components.
- After disassembly, use a high-quality cleaning brush to sweep away dust and debris. Make sure to get into hard-to-reach areas that often go unnoticed.
- For stubborn grime, use a slightly damp cloth with mild detergent. Be careful to keep moisture away from delicate electronic parts.
By addressing these elements regularly, you ll prolong the life of your headset and enhance your overall gaming experience.
Disinfecting and Sanitizing
Once you’ve tackled the visible dirt and grime, the next step is to disinfect and sanitize your gaming headset. This ensures you eliminate bacteria and enjoy a truly hygienic experience.
Using disinfecting agents like alcohol wipes and hydrogen peroxide can significantly elevate the cleanliness of the surfaces your headset interacts with. Start by gently wiping down every area, paying special attention to buttons and ear cushions where germs tend to gather.
Both agents are effective at killing a wide range of pathogens, helping you prevent the spread of bacteria and nasty ear infections that could disrupt your gaming sessions.
Make it a habit to sanitize your equipment regularly! This practice is essential for maintaining hygiene in your gaming environment.
Tips for Maintaining a Clean Gaming Headset
Maintaining a clean gaming headset isn’t just about the occasional wipe-down. Cultivating certain habits can extend its lifespan and keep it looking as good as new.
Preventative Measures
Implementing preventative measures is key to safeguarding your gaming headset from sweat and dirt, reducing the need for frequent deep cleaning.
Utilizing headphone hangers ensures your devices rest in a cool, dry location when not in use, minimizing exposure to unwanted moisture. Regularly wiping down the ear cups with a soft cloth helps prevent grime buildup. Storing the headset in a protective case when it’s not in use adds an extra layer of defense.
Incorporating strategies like keeping drinks away from your gaming area and maintaining a tidy environment extends the lifespan of your headset and enhances your overall gaming experience. This allows you to focus on the game without unnecessary distractions.
Common Mistakes to Avoid
When cleaning your gaming headset, be mindful of common mistakes that can lead to improper cleaning and potential damage, impacting both audio quality and comfort.
Potential Damage from Improper Cleaning
Improper cleaning techniques can compromise essential components of your gaming headset, like the headphone pads and speaker grills. For example, using abrasive materials or harsh chemicals can degrade the cushioning material, leading to wear and tear that hampers comfort over time.
Failing to clean the speaker grills carefully can allow dust and debris to accumulate, ultimately affecting sound quality and clarity.
To sidestep these pitfalls, adopt gentle cleaning methods. A microfiber cloth paired with a mild soap solution will do wonders; just be sure to dry everything thoroughly afterward.
Regular maintenance extends the life of your headset and enhances your overall gaming experience, ensuring audio remains crisp and the fit stays comfortable.
Start cleaning your headset today to enjoy an unbeatable gaming experience!
Importance of Regular Cleaning and Maintenance
The significance of regular cleaning and maintenance cannot be overstated. It directly influences both the hygiene and sound quality of your gaming headset.
When you consistently engage in cleaning routines, you elevate your listening experience. This ensures that your hardware remains in peak condition for a longer period.
Over time, dust and debris can accumulate in the ear cups and microphone. This accumulation can potentially cause sound distortion or even permanent damage.
This proactive approach enhances clarity and immersion. You can enjoy clearer audio output and a more immersive gaming experience while extending the lifespan of your cherished headset.
Such practices enhance your overall comfort. You can focus on gameplay without the distractions of technical issues.
Frequently Asked Questions
- Want crystal-clear sound? Find out how often to clean your headset!
Make it a habit to clean your gaming headset at least once a month for the best sound experience! - Can I use water to clean my gaming headset?
No, it is not recommended to use water on your gaming headset as it can damage the electronic components. Use a dry or slightly damp cloth instead. - What is the best way to clean the ear cushions of my headset?
Remove the ear cushions from the headset and gently wipe them with a damp cloth. Make sure to dry them completely before putting them back on. - How do I clean the microphone on my gaming headset?
Use a small brush or a cotton swab with a small amount of rubbing alcohol to clean the microphone. Be gentle and do not apply too much pressure. - Can I use disinfectant wipes to clean my gaming headset?
It is not recommended as the chemicals in disinfectant wipes may damage the materials of your headset. Stick to using a damp cloth with mild soap or rubbing alcohol. - Is it important to clean the inside of my gaming headset?
Yes, it is important to clean the inside of your gaming headset. Dirt and debris can build up over time and affect the sound quality. Use a small brush or cotton swab to gently clean the inside of the ear cups.
Start your cleaning routine today and enjoy a richer gaming experience!